


Imagine the thrill of unboxing your very first beginner camera for photography in 2026. The latest models come packed with features that were once reserved for professionals, making the experience both exciting and a bit overwhelming. With technology evolving so quickly, it is easy to feel lost in the sea of buttons, menus, and new terms. This guide is here to help you cut through the noise and start strong. You will discover seven essential tips that will help you make the most of your camera, boost your confidence, and improve your results from day one. Let us dive in and unlock the full potential of your photography journey together.
Contents
- Understanding Your Beginner Camera: The Basics
- 7 Essential Beginner Camera For Photography Tips
- 1. Tip: Master Exposure Triangle (Aperture, Shutter Speed, ISO)
- 2. Tip: Focus on Composition Techniques
- 3. Tip: Leverage Built-In Camera Modes and Presets
- 4. Tip: Practice with Different Lighting Conditions
- 5. Tip: Keep Your Gear Simple and Lightweight
- 6. Tip: Develop a Consistent Practice Routine
- 7. Tip: Learn Basic Photo Editing Skills
- Building Confidence as a Beginner Photographer
- Resources and Next Steps for Beginner Photographers
Understanding Your Beginner Camera: The Basics
Picking up a beginner camera for photography is an exciting first step, but the sheer number of buttons and menus can be overwhelming. Taking time to truly understand your gear is the fastest way to unlock its creative potential. By getting to know your camera inside and out, you set yourself up for success from day one.

Getting to Know Your Camera’s Layout
Start by exploring every button, dial, and port on your beginner camera for photography. Manufacturers design layouts for efficiency, but each model is slightly different. Take a few minutes to hold your camera, turn it on, and scroll through physical controls. Notice where the shutter button sits, how the mode dial feels, and where you access functions like playback or menu.
If your camera has a touchscreen, tap through the interface to see how it responds. Some cameras now offer customizable touch menus, making it easier than ever to access your favorite settings with a single tap. This hands-on approach quickly builds comfort and confidence.
Essential Features Every Beginner Should Learn
Understanding the core features of your beginner camera for photography is crucial. In 2026, these are the essentials you need to master:
| Feature | What It Does | Why It Matters |
|---|---|---|
| Autofocus Modes | Helps you focus quickly and accurately | Sharper images, less blur |
| ISO | Controls sensor sensitivity to light | Better low-light performance |
| White Balance | Adjusts color temperature | Natural-looking colors |
| Touchscreen | Simplifies navigation and focus selection | Faster operation, intuitive use |
Learning these features early helps you avoid frustration when the perfect moment appears. If you want to see which cameras excel in these areas, the Best Cameras for Beginners roundup is a solid place to start your research.
Menus can feel intimidating at first, but they are the gateway to unlocking your camera’s full potential. Familiarize yourself with the main menu sections: shooting options, playback, and setup. Spend some time customizing frequently used settings, like ISO range or focus area, so they’re easily accessible.
Many beginner camera for photography models now offer built-in tutorials and guided modes. Don’t skip these features. They walk you through important settings and often provide helpful tips for different shooting scenarios. Reading your camera’s manual – yes, the actual paper or PDF – can reveal shortcuts and functions you might otherwise miss.
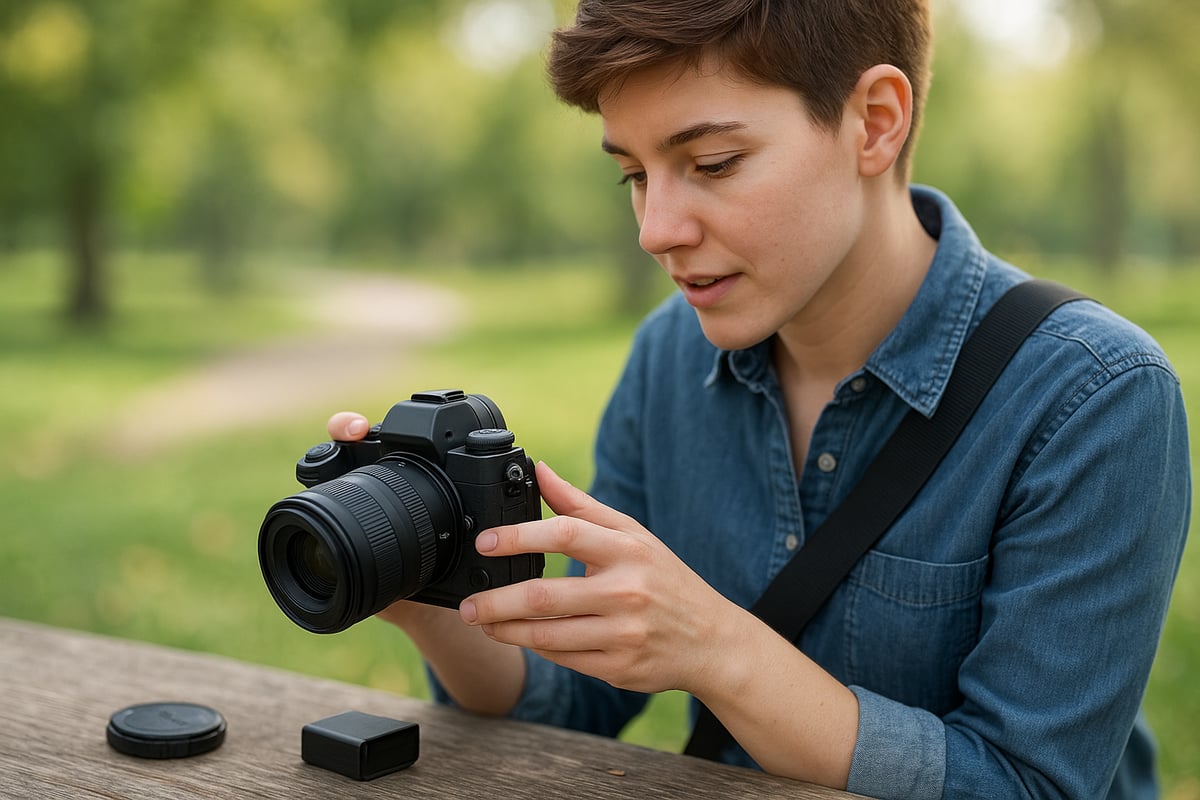
Avoiding Common Beginner Mistakes
It’s normal to make a few mistakes when you first use a beginner camera for photography, but knowing what to watch for can save you time and frustration. Some common pitfalls include:
- Accidentally leaving the lens cap on
- Forgetting to check battery or memory card status
- Using the wrong autofocus mode, resulting in blurry images
- Ignoring white balance, leading to strange color casts
A checklist before each shoot can help you sidestep these errors. Over time, these habits become second nature.
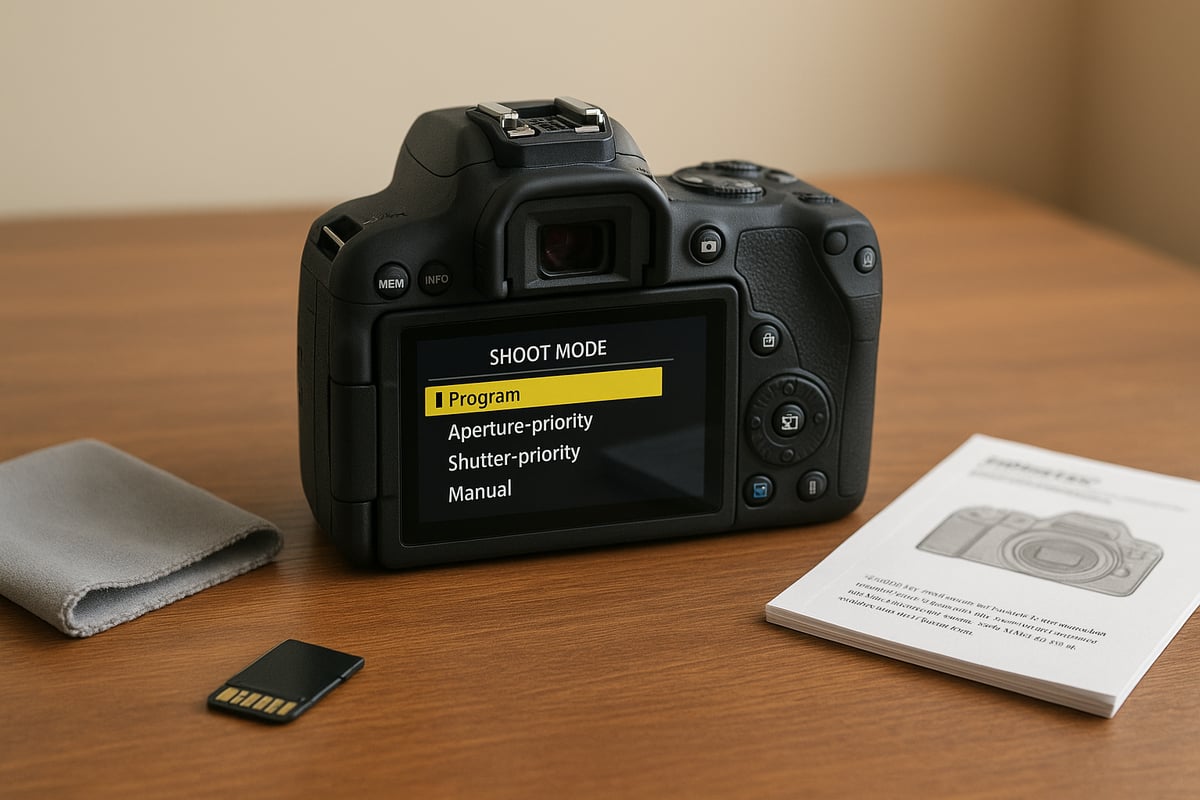
Auto vs Manual: When to Use Each Mode
One of the biggest choices with a beginner camera for photography is deciding when to use auto or manual modes. Auto mode is fantastic when you’re learning the ropes or need to capture a quick moment. It lets the camera choose the best settings for you, so you can focus on composition.
Manual mode, on the other hand, gives you full creative control. It’s ideal for experimenting, learning how settings interact, and tackling challenging lighting. As you gain confidence, try switching to aperture or shutter priority modes for a blend of control and convenience.
The Impact of Learning the Basics
Investing time in understanding your beginner camera for photography pays off quickly. According to surveys, photographers who dedicate even a few hours to learning their camera’s fundamentals see up to a 30 percent improvement in photo quality during the first month.
Mastering your camera’s basics is like learning the alphabet before writing poetry. It gives you the freedom to focus on creativity, not just technical details. With each outing, your confidence and results will grow.
7 Essential Beginner Camera For Photography Tips
Picking up a beginner camera for photography is both thrilling and challenging. The technology is more accessible than ever, yet the sheer number of features can be overwhelming. As someone who remembers the confusion of those first days, I know how important it is to have practical, clear advice. Here are seven tips I wish I had known when I started. Each one is designed to help you unlock your camera’s full potential, build confidence, and see real improvement in your photos.
1. Tip: Master Exposure Triangle (Aperture, Shutter Speed, ISO)
Understanding the exposure triangle is the backbone of using any beginner camera for photography. This trio – aperture, shutter speed, and ISO – controls how much light hits your camera sensor and shapes the creative look of every image.
Aperture determines how wide the lens opens, affecting both brightness and depth of field. A wider aperture (smaller f-number) lets in more light and creates beautiful background blur, ideal for portraits. Shutter speed controls how long the sensor is exposed. Fast speeds freeze motion, while slower speeds allow for motion blur, perfect for waterfalls or night shots. ISO adjusts your camera’s sensitivity to light; a higher ISO helps in low light but can introduce noise.
Here is a quick reference table for the exposure triangle:
| Setting | Effect on Photo | Creative Use |
|---|---|---|
| Aperture | Depth of field, light | Portraits, landscapes |
| Shutter Speed | Motion blur/freeze | Sports, night, action shots |
| ISO | Brightness, noise level | Indoor, low-light, night photos |
Practice by setting your beginner camera for photography to manual mode and experimenting with different settings. Try shooting a moving subject at various shutter speeds, or adjust aperture for sharp landscapes versus blurred backgrounds.
Common pitfalls include overexposed (too bright) or underexposed (too dark) images. Always check your histogram and preview images. With consistent practice, you will find that mastering the exposure triangle gives you total creative control over your beginner camera for photography.
2. Tip: Focus on Composition Techniques
Composition is the silent storyteller behind every striking image. Even with the most advanced beginner camera for photography, a poorly composed shot falls flat. Start with foundational rules like the rule of thirds, where you place your subject off-center for a more dynamic look. Most cameras in 2026 have built-in grid lines—turn these on to guide your framing.
Leading lines, such as roads or fences, draw the viewer’s eye into the scene. Framing uses elements like windows or branches to focus attention. Symmetry can make images feel balanced and pleasing.
Consider this quick checklist when composing:
- Use rule of thirds for balanced images
- Seek leading lines to guide the eye
- Frame subjects with natural elements
- Look for symmetry and patterns
After mastering these, do not be afraid to break the rules. Some of the best images come from creative risk-taking. Compare two photos: one with a centered subject, the other using the rule of thirds. The difference in impact is often dramatic.
Remember, composition is what sets your beginner camera for photography images apart from snapshots. It is a skill that improves with observation and practice.
3. Tip: Leverage Built-In Camera Modes and Presets
Today’s beginner camera for photography models come packed with useful modes and presets. These are not just shortcuts—they are learning tools. Portrait mode automatically sets a wide aperture for soft backgrounds. Landscape mode enhances sharpness and color for sweeping vistas. Macro mode is perfect for close-ups of flowers or insects, while sports mode uses faster shutter speeds to freeze action.
Scene modes optimize your camera’s settings for specific situations. As a beginner, use these to see how your camera reacts in different environments. For example:
- Portrait mode: Soft backgrounds, flattering skin tones
- Landscape mode: Deep focus, vibrant colors
- Macro mode: Sharp detail in close-ups
- Sports mode: Crisp action shots
Presets help you achieve quality results quickly, especially when you are still learning the manual settings. However, they have limitations. You might find that portrait mode struggles in low light or that landscape mode oversaturates colors.
As your confidence grows, start switching from presets to manual or semi-automatic modes. This transition is where you really start to understand the creative possibilities of your beginner camera for photography. Use presets as a foundation, not a crutch.
4. Tip: Practice with Different Lighting Conditions
Lighting is the soul of photography. Your beginner camera for photography will perform very differently in various lighting scenarios. Natural light, such as early morning or late afternoon (golden hour), produces warm, flattering images. Harsh midday sun can cause strong shadows and blown highlights.
Artificial light, like lamps or flash, introduces new challenges. Learn to use your camera’s white balance settings to keep colors accurate. Experiment with ISO and aperture to adjust for low-light situations without sacrificing image quality.
Here are some practical tips for different conditions:
- Golden hour: Use lower ISO, wider aperture for soft light
- Midday sun: Seek shade, use lens hood to reduce glare
- Low light: Increase ISO cautiously, use tripod to avoid blur
Avoid common mistakes like shooting directly into the sun or ignoring harsh shadows on faces. Simple tools like a reflector or even a sheet of white paper can help bounce light onto your subject.
By practicing in a variety of lighting conditions, you will learn how to adapt your beginner camera for photography to any situation, building both skill and confidence.
5. Tip: Keep Your Gear Simple and Lightweight
It is tempting to buy every accessory when you first invest in a beginner camera for photography. However, carrying too much gear often distracts from learning. Focus on the essentials: a camera body, one versatile lens, a couple of memory cards, a spare battery, and a lens cloth.
A lightweight setup encourages you to shoot more often. You are more likely to grab your camera for a quick walk or spontaneous moment. Many seasoned photographers share stories of how paring down their kit led to creative breakthroughs and less stress.
Here is a simple gear checklist for beginners:
- Camera body
- All-purpose lens (18-55mm or 24-70mm)
- Memory cards (at least two)
- Spare battery
- Lens cleaning cloth
Avoid the trap of buying every gadget or filter at the start. As you get to know your beginner camera for photography, you will discover what accessories genuinely enhance your experience. Less gear means more freedom and focus on the craft itself.
6. Tip: Develop a Consistent Practice Routine
Skill with a beginner camera for photography grows with regular use. Set a weekly or daily goal, perhaps a photo walk every Saturday, or a themed challenge like shooting only in black and white for a week.
Track your progress by saving your best images and reviewing them monthly. Many beginners find that joining online communities or local groups provides invaluable feedback and support. Do not hesitate to share your photos and ask for constructive critique.
Consider creating a simple table to monitor your improvement:
| Week | Theme/Challenge | What I Learned | Favorite Photo |
|---|---|---|---|
| 1 | Street Photography | Framing, candid moments | IMG_0012 |
| 2 | Golden Hour | Natural lighting, timing | IMG_0028 |
| 3 | Macro | Focus, patience | IMG_0045 |
Research shows that photographers who stick to a regular practice routine improve both technically and creatively. Your beginner camera for photography is a tool, and like any tool, mastery comes from repetition and reflection.
7. Tip: Learn Basic Photo Editing Skills
Shooting is only half the journey. Editing transforms a good image from your beginner camera for photography into a great one. Start with beginner-friendly software, many options are intuitive and affordable.
Focus on key edits: crop to improve composition, adjust exposure for brightness, correct colors for accuracy, and sharpen for clarity. Editing should enhance, not rescue, your photos. Subtle changes often make the biggest impact.
A typical editing workflow might look like this:
- Import and select your best shots
- Crop and straighten
- Adjust exposure and contrast
- Fine-tune color balance
- Sharpen details
- Export in the desired format
For those seeking the right tools, explore the Best Photo Editing Software to find programs suited for every beginner’s needs.
Before-and-after comparisons reveal how small tweaks can elevate your beginner camera for photography images. Editing is an essential skill that complements your in-camera technique and brings your creative vision to life.
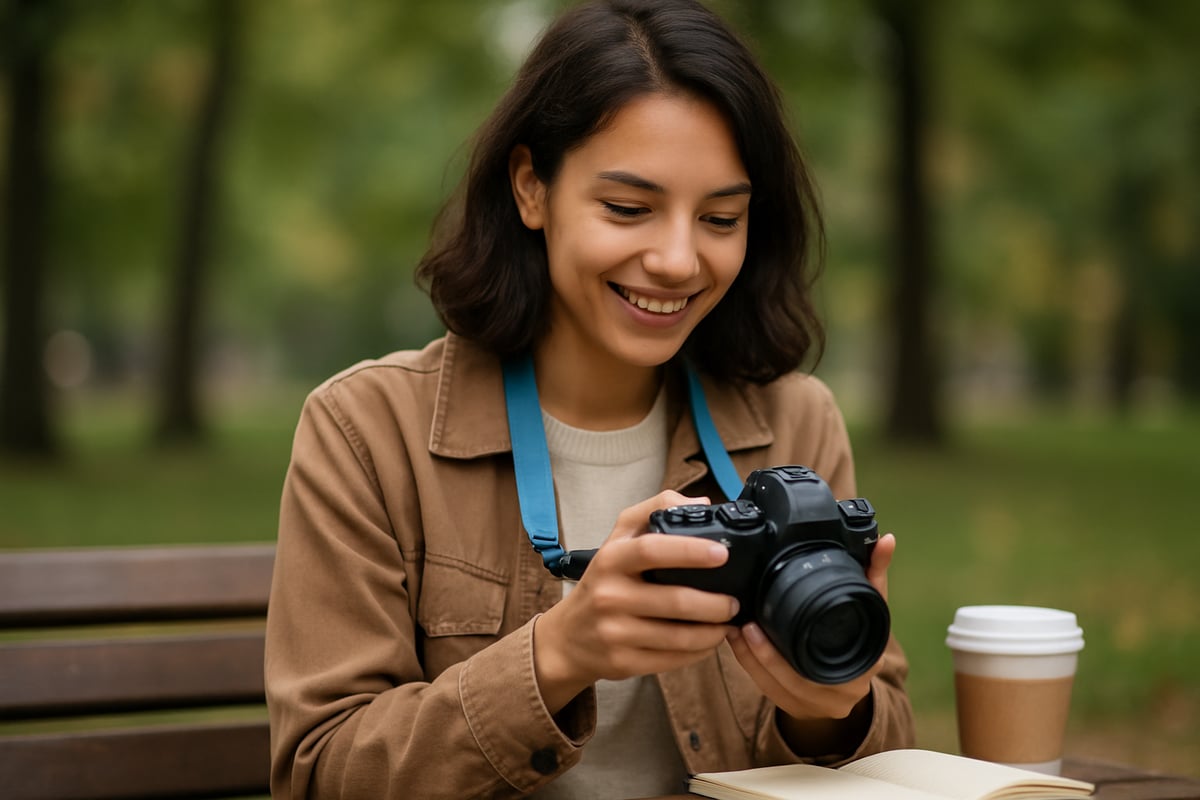
Building Confidence as a Beginner Photographer
Stepping into the world of photography with a beginner camera for photography can feel both exciting and intimidating. Many new photographers worry about making mistakes, feeling out of place, or not measuring up to others. These hurdles are normal and, in fact, part of every creative journey. Facing these feelings head-on is an important step in building both your skills and your confidence behind the lens.
One of the most effective ways to grow with a beginner camera for photography is to embrace experimentation. Try shooting in unfamiliar settings, play with different compositions, and do not be afraid to get things wrong. Every missed shot is an opportunity to learn, and over time, you will notice your instincts sharpen. The process of trial and error is where many photographers discover their unique style.
Constructive feedback is invaluable. Sharing your work with others, either online or in local groups, helps you see your photos from fresh perspectives. Engaging with communities and participating in challenges, as suggested in Developing a Consistent Practice Routine, not only accelerates technical growth but also builds resilience. Honest critique can highlight both strengths and areas for improvement, giving you a roadmap for progress with your beginner camera for photography.
Setting personal challenges is a powerful motivator. Try weekly themes, daily photo walks, or self-imposed limitations to push your creativity. Celebrate each small win, whether it is nailing focus in tricky light or capturing a moment that tells a story. Recognizing your achievements, no matter how minor, reinforces your commitment to growth with your beginner camera for photography.
Many successful photographers started with self-doubt and uncertainty. What set them apart was persistence and a willingness to keep learning. Whether you are capturing cityscapes, portraits, or quiet moments at home, remember that every frame is a step forward. The journey with a beginner camera for photography is not about perfection, but about progress, passion, and personal discovery.
Resources and Next Steps for Beginner Photographers
Starting your journey with a beginner camera for photography is just the first step. To truly unlock your creative potential, you will need guidance, support, and the right resources. Fortunately, 2026 offers an incredible range of opportunities for learning and connecting with others who share your passion.
Educational Resources for Beginners
There is no shortage of online tutorials, blogs, and workshops catering to those using a beginner camera for photography. Websites, video platforms, and even camera manufacturers offer step-by-step guides that walk you through camera settings, shooting techniques, and editing basics.
You might find it useful to explore in-depth guides like Tips for Better Photo Composition, which break down essential concepts in a way that is easy to understand and apply. Many resources include practice assignments, so you can immediately test new skills with your own camera.
Local workshops are also making a comeback, often hosted by camera stores or community centers. These in-person sessions provide hands-on experience and the chance to ask questions directly.
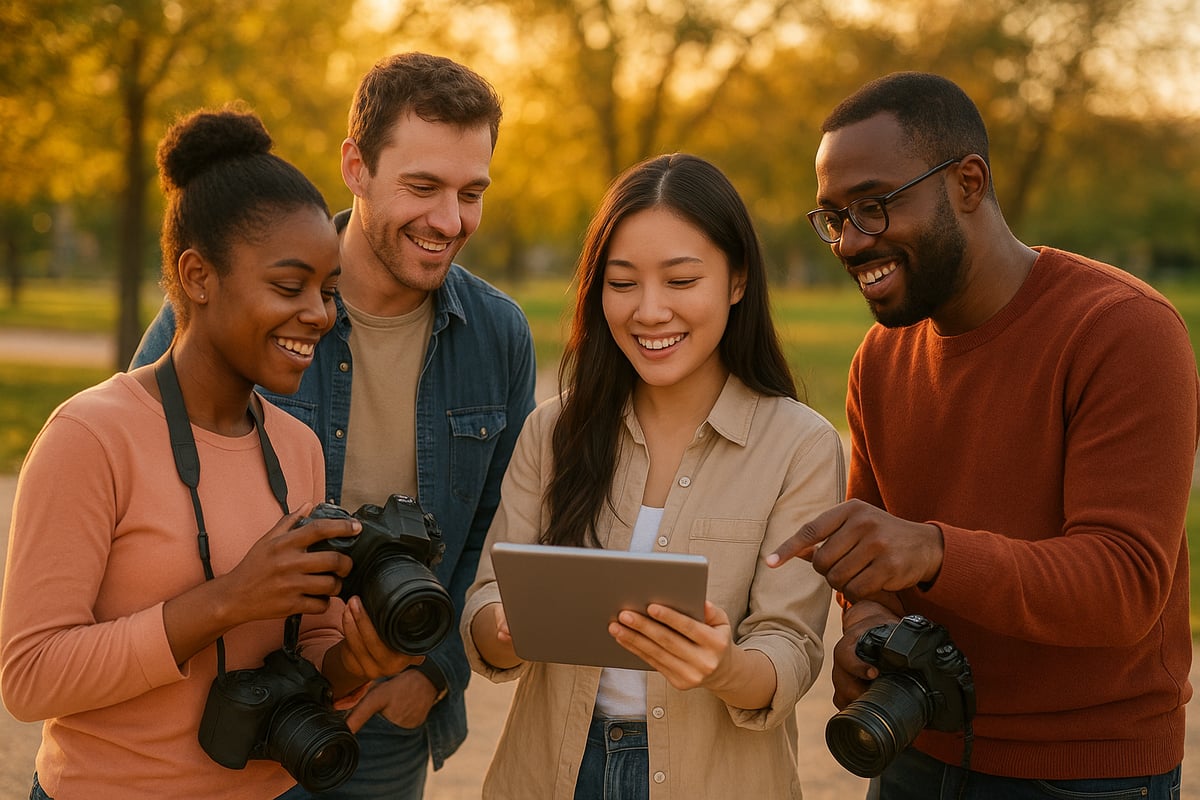
Photography Communities and Meetups
Joining photography communities is a fantastic way to stay motivated and inspired. There are countless online forums, social groups, and even dedicated apps where you can connect with others using a beginner camera for photography.
Look for local photo walks or meetups in your area. These events are great for building confidence, learning from more experienced photographers, and discovering new locations. Many communities organize themed challenges, which can help you break out of creative ruts and try new subjects or techniques.
When you share your work within these groups, you will receive constructive feedback that can accelerate your growth. Do not hesitate to ask questions or participate in discussions: everyone was a beginner once.
Social Media and Feedback
Social media platforms are powerful tools for sharing your progress and getting feedback on your photos. Start by creating a dedicated photography account to showcase your journey with a beginner camera for photography.
Follow other photographers whose work you admire and interact with them. Commenting on and analyzing their images can teach you a lot about style, composition, and storytelling. Use hashtags relevant to your camera model or subject matter to reach a broader audience.
Remember, feedback is most valuable when it is specific and actionable. Do not be discouraged by criticism, see it as an opportunity to improve and refine your technique.
Setting Goals and Continuing Growth
A clear sense of direction is essential for making steady progress with a beginner camera for photography. Set achievable goals, such as completing a weekly photo challenge or mastering a new editing skill each month.
Keep a journal or digital folder to track your favorite photos and reflect on what you have learned. Celebrate your milestones, no matter how small. Photography is a lifelong pursuit, and every step forward counts.
Stay curious by exploring new genres, techniques, and creative projects. Attend workshops, experiment with different lighting, or try shooting in unfamiliar environments. The world of photography is always evolving, and your journey is just beginning.