


The right lens can completely transform how you capture the world, opening up creative possibilities you may not have realized were possible. Choosing and mastering sony photo lenses is often a challenge, with so many options and technical details to consider. This article is here to guide you through ten essential tips that will help you get the most out of your gear, no matter your experience level. Whether you are just starting or looking to refine your technique, you will find practical, actionable advice to elevate your photography with confidence.
Contents
- Understanding Sony photo lenses: Key features and selection criteria
- 10 essential tips for getting the most out of your Sony photo lenses
- 1. Tip: Master the basics of lens cleaning and care
- 2. Tip: Use the right aperture for creative control
- 3. Tip: Optimize your lens for sharpness and clarity
- 4. Tip: Make the most of autofocus and manual focus modes
- 5. Tip: Experiment with focal lengths and composition
- 6. Tip: Leverage lens filters for creative effects
- 7. Tip: Control lens flare and ghosting in challenging light
- 8. Tip: Use lens stabilization for sharper handheld shots
- 9. Tip: Take advantage of lens-specific features for video
- 10. Tip: Build a versatile lens kit for your photography goals
- Advanced techniques for maximizing lens performance
- Staying updated: The evolving world of photography lenses
Understanding Sony photo lenses: Key features and selection criteria
Choosing the right sony photo lenses can feel like navigating a maze, especially with the variety of camera bodies and lens models available. A thoughtful approach to lens selection will transform both your shooting experience and your results. Let’s break down what you need to know.

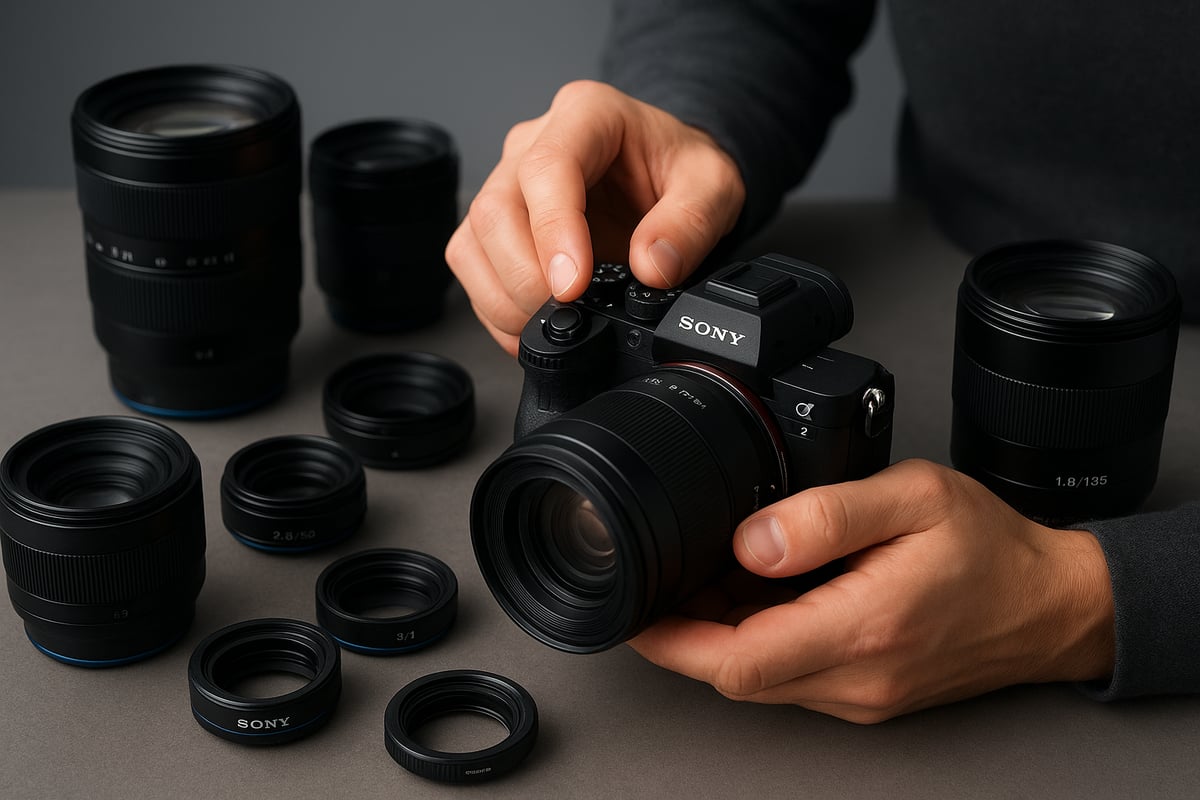
The importance of lens compatibility with your camera body
Before investing in sony photo lenses, always confirm compatibility with your camera body. Sony offers both full-frame and APS-C sensor cameras, and each sensor size affects how a lens performs. For example, a lens designed for full-frame cameras (like the Sony a7C) will work differently on an APS-C body, changing the effective field of view.
Mount types are equally vital. Sony uses the E-mount for most mirrorless cameras, but there are A-mount lenses for older models. Mixing up mounts can result in autofocus issues or even prevent a lens from attaching. It’s a common pitfall for new photographers.
If you are unsure about compatibility, consult the Choosing the Right Lens for Your Camera guide for detailed recommendations. Taking time to match your sony photo lenses correctly will save you frustration and maximize your investment.
Decoding lens specifications and terminology
Understanding the technical language of sony photo lenses opens up a world of creative possibilities. Focal length, measured in millimeters, determines how much of a scene you capture. Aperture, indicated by f-numbers like f/1.8 or f/4, controls light and depth of field. Image stabilization helps reduce blur from camera shake, especially at slower shutter speeds.
Lens markings often feature abbreviations: OSS (Optical SteadyShot), G (G Master), and FE (full-frame E-mount). These details tell you about performance, intended use, and camera compatibility.
In real-world situations, these specs matter. For example, a 50mm f/1.8 lens is a favorite for portraits, while a 10-18mm wide-angle excels in landscapes. By learning to interpret sony photo lenses specifications, you make informed choices for every shooting scenario.
Prime vs. zoom lenses: Pros and cons
When building your kit, decide if you want prime or zoom sony photo lenses. Primes have a fixed focal length, offering superior image quality, wider apertures, and lighter weight. They are ideal for low-light shooting or when you want to maximize sharpness and background blur.
Zoom lenses provide versatility, allowing you to frame shots quickly without changing position. While they tend to be larger and sometimes less sharp at the extremes, modern zooms have closed the quality gap considerably.
Experienced photographers often use a mix of both. For street photography, a 35mm prime is a classic choice, while a 24-70mm zoom is a workhorse for events. Consider your style and subjects when deciding which sony photo lenses best suit your needs.
Assessing build quality and weather sealing
Build quality is a crucial factor, especially if you shoot outdoors. Many sony photo lenses feature metal mounts, robust barrels, and weather sealing to protect against dust and moisture. This durability is essential for travel or wildlife photography, where conditions can be unpredictable.
To evaluate robustness, check for smooth focus and zoom rings, solid construction, and weather-resistant gaskets. Investing in sturdy sony photo lenses means fewer worries in challenging environments and a longer lifespan for your gear.
Considering autofocus performance and manual focus options
Autofocus performance can make or break a shot. Fast, silent motors are found in many sony photo lenses, perfect for capturing moving subjects or shooting discreetly. However, manual focus remains valuable for precise work, such as macro or landscape photography.
Look for features like focus peaking and magnification, which make manual adjustments easier. Some situations, like low-light or creative projects, demand switching from autofocus to manual. Choosing sony photo lenses with reliable focusing options ensures you stay in control, no matter the subject.
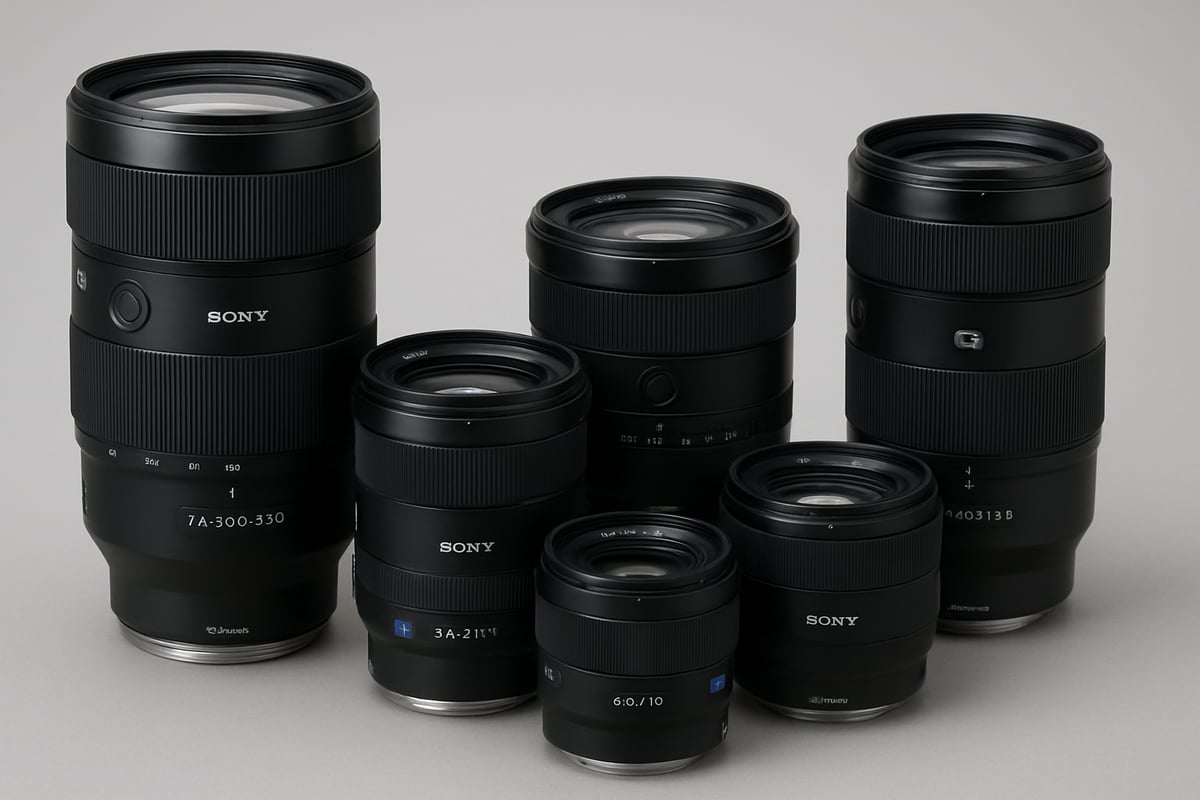
Evaluating lens size, weight, and portability
Balancing performance and convenience is key when selecting sony photo lenses for your kit. While larger lenses often deliver top-tier optics, they can be cumbersome for travel or street photography. Compact primes are easy to carry, but may lack the reach or versatility of telephoto zooms.
Think about your shooting habits and prioritize lenses that match your workflow. Building a lens kit that is both versatile and manageable allows you to adapt to various situations without being weighed down. Ultimately, the right sony photo lenses will support your creativity without slowing you down.
10 essential tips for getting the most out of your Sony photo lenses
Unlocking the full potential of your Sony photo lenses requires more than just attaching them to your camera. The right approach, paired with practical know-how, can transform your shots and extend the life of your gear. These ten essential tips will help you harness every feature and nuance of your lenses, regardless of your experience level.
1. Tip: Master the basics of lens cleaning and care
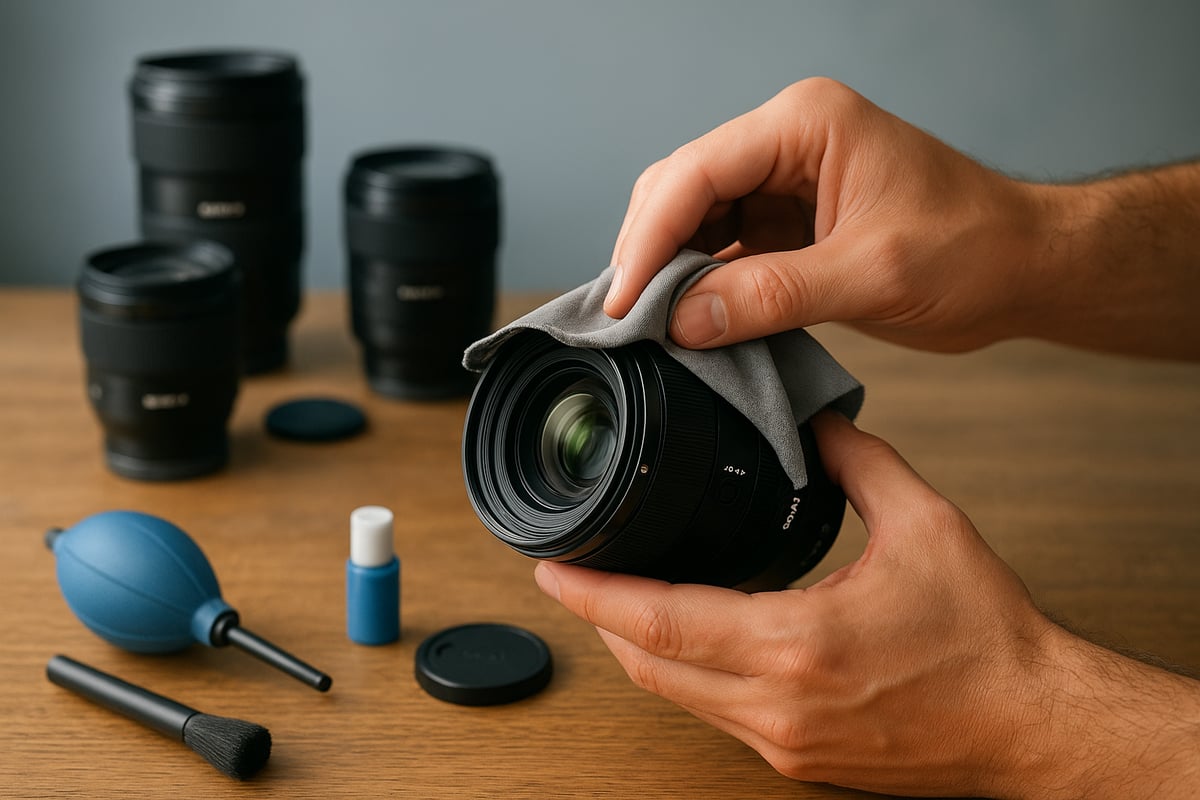
Proper care for your Sony photo lenses is foundational to consistent image quality. Start by investing in a blower, a soft-bristled brush, and a microfiber cloth. Always remove dust with a blower before touching the glass. Gently brush away remaining particles, then use the cloth in a circular motion.
Avoid using household cleaners or tissues, as these can scratch the lens coating. Store your lenses with caps on, in a dry environment, to prevent fungus growth. For deeper cleans, use lens cleaning solution sparingly on the cloth, never directly on the lens.
Routine maintenance is vital. Clean your lenses after every major shoot, especially in dusty or humid conditions. Inspect for smudges and spots before each use. With disciplined cleaning, your Sony photo lenses will deliver sharp results for years, and you’ll sidestep common issues like scratches and optical haze.
Remember, the effort you invest in lens care pays off with a longer lifespan and consistently crisp images. Even experienced photographers sometimes overlook these basics, but diligent care truly sets your work apart.
2. Tip: Use the right aperture for creative control
Aperture is a powerful tool for shaping the look and feel of your photos with Sony photo lenses. It controls depth of field, letting you decide what’s sharp and what melts into a dreamy blur. For portraits, a wide aperture like f/1.8 creates soft backgrounds, making your subject stand out.
For landscapes, stopping down to f/8 or f/11 keeps more of the scene in focus. Experiment with different settings to see how the mood shifts. In street photography, try f/4 to balance subject isolation and context.
Be mindful of diffraction at very small apertures, like f/22, which can soften details. Each lens has its own sweet spot, usually two to three stops from wide open. By mastering aperture, you gain greater creative control and can adapt your Sony photo lenses to any scenario.
Use aperture as both a technical and artistic decision. The choices you make here directly impact the story your image tells and the emotions it evokes.
3. Tip: Optimize your lens for sharpness and clarity
Every Sony photo lens has an aperture range where it performs best, often called the sweet spot. Typically, this is between f/5.6 and f/8. Shooting within this range maximizes sharpness across the frame.
Camera shake is a common enemy of clarity. Use a tripod for slower shutter speeds or when shooting with telephoto lenses. If your lens or camera offers image stabilization, activate it for handheld shots, but consider turning it off on a tripod.
Focus accuracy is just as important. Use single-point autofocus for static subjects and check focus by zooming in on your LCD. In post-processing, subtle sharpening and clarity adjustments can make details pop, but avoid overdoing it.
By understanding the strengths of your Sony photo lenses and combining careful technique with post-production, you’ll consistently produce crisp, detailed images that stand out.
4. Tip: Make the most of autofocus and manual focus modes
Knowing when to use autofocus or manual focus makes a huge difference with Sony photo lenses. Autofocus is fast and reliable for most situations, especially with moving subjects like sports or wildlife. Use continuous autofocus (AF-C) to track motion, and single-shot (AF-S) for stationary scenes.
Manual focus shines in low light, macro, or when precision is essential. Sony cameras offer focus peaking and magnification, making manual adjustments easier and more accurate. These features help you nail focus when depth of field is razor thin.
Customize your focus settings to suit each scenario. If autofocus struggles, switch to manual and take control. Practice both modes with your Sony photo lenses so you can adapt quickly and never miss a critical moment.
Troubleshooting focus issues is part of the learning curve. Check for smudges on the lens, update firmware, and recalibrate when needed. Mastering both modes ensures sharp results in any situation.
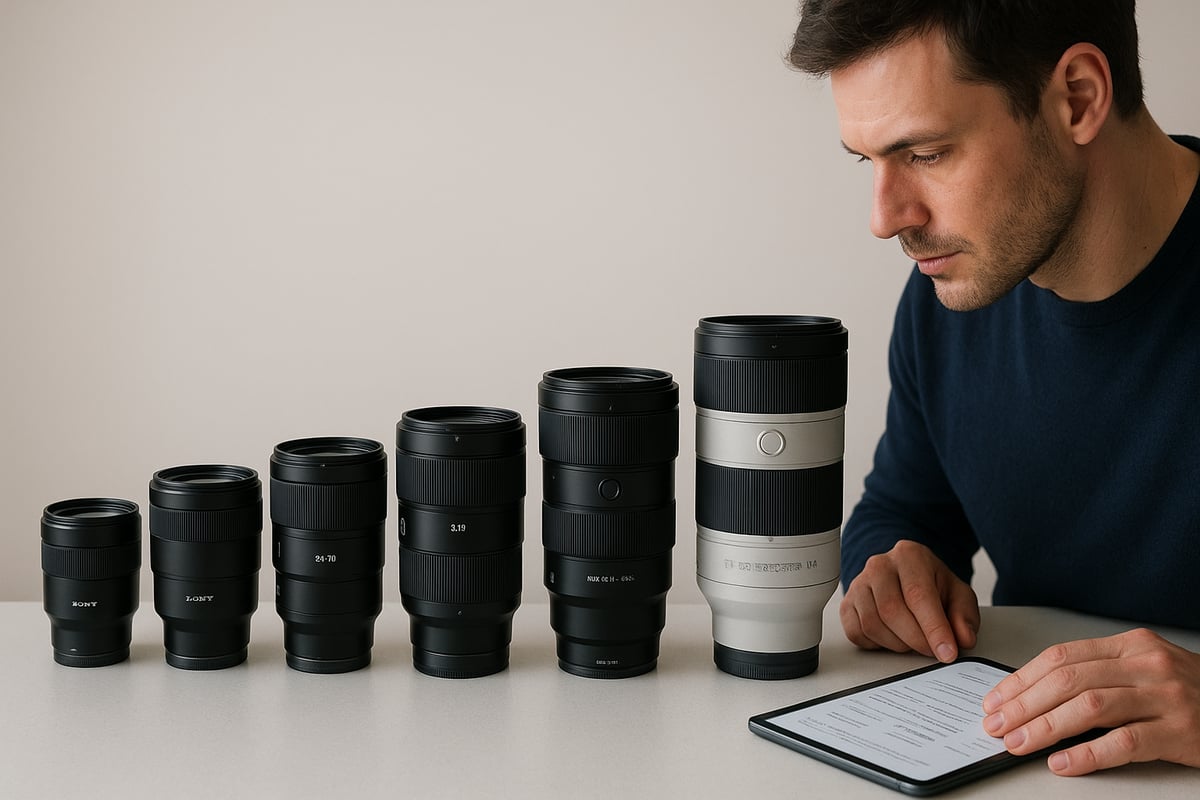
5. Tip: Experiment with focal lengths and composition
Sony photo lenses come in a range of focal lengths, each offering a unique perspective. Wide-angle lenses (16-35mm) capture sweeping landscapes and dramatic skies. Telephoto lenses (70-200mm and beyond) compress distance, making backgrounds appear closer and emphasizing your subject.
Try practical exercises to understand lens compression and distortion. Photograph the same subject at different distances and focal lengths, then compare results. You’ll notice how your lens choice influences storytelling and emotion.
Zoom lenses offer flexibility, but don’t be afraid to move your feet. Changing your position often leads to stronger compositions. Experimentation is key. Each lens in your Sony photo lenses kit can spark new creative ideas and help you see familiar scenes in a fresh way.
Keep notes on your favorite focal lengths for different genres. Over time, you’ll develop an intuitive sense for which lens best matches your vision.
6. Tip: Leverage lens filters for creative effects
Filters are powerful accessories for Sony photo lenses, enhancing images in ways that editing alone cannot. A polarizing filter cuts glare and deepens skies, making landscapes pop. Neutral density (ND) filters allow for long exposures in daylight, perfect for smoothing water or capturing motion blur.
UV filters offer basic protection against dust and scratches, though their impact on image quality is minimal. When stacking filters, be cautious of vignetting, especially on wide-angle lenses.
To avoid unwanted flare, use high-quality multi-coated filters. Experiment with filter effects in different genres, from vibrant cityscapes to moody seascapes. Over time, you’ll discover which filters are essential for your style.
Properly using filters with your Sony photo lenses not only protects your gear but also expands your creative toolkit.
7. Tip: Control lens flare and ghosting in challenging light
Lens flare and ghosting can be both a nuisance and a creative opportunity with Sony photo lenses. Flare appears as bright spots or streaks when shooting toward strong light sources, like the sun. Ghosting produces faint, repeated images of bright objects.
To minimize these effects, always use a lens hood. Adjust your shooting angle to shield the lens from direct light. In post-processing, you can further reduce flare and ghosting using healing or clone tools.
Sometimes, controlled flare adds atmosphere and emotion, especially in backlit portraits or golden hour landscapes. Learn how your Sony photo lenses respond to light, and don’t hesitate to embrace flare for artistic shots when it suits your vision.
Understanding and controlling these phenomena will help you maintain image quality and expand your creative range.
8. Tip: Use lens stabilization for sharper handheld shots
Sony photo lenses often feature built-in stabilization, and many Sony camera bodies offer in-body stabilization as well. These systems detect movement and compensate, letting you shoot handheld at slower shutter speeds without blur.
Stabilization is most effective in low light, with telephoto lenses, or during video recording. However, when mounted on a tripod, it’s wise to disable stabilization to prevent unwanted movement.
Real-world scenarios highlight the benefits. For example, capturing a cityscape at dusk or photographing wildlife with a long lens becomes much easier. With stabilized Sony photo lenses, you gain flexibility and confidence in challenging conditions.
Always check your settings before shooting. Mastering stabilization opens up new creative possibilities and ensures your images stay sharp.
9. Tip: Take advantage of lens-specific features for video
Sony photo lenses are engineered for both stills and video, offering features that can elevate your filmmaking. Look for lenses with silent autofocus motors to avoid distracting noise in your audio. Smooth aperture rings allow for seamless exposure adjustments during recording.
Minimal focus breathing ensures consistent framing when shifting focus. Pair your lens with accessories like variable ND filters for better control over light and motion. Use custom camera settings to switch quickly between photo and video modes.
Practice transitioning between shooting styles. With the right approach, your Sony photo lenses become versatile tools for creative storytelling in both formats. Understanding each feature lets you produce polished, professional video content.
10. Tip: Build a versatile lens kit for your photography goals
The ideal Sony photo lenses kit is tailored to your interests and evolving skills. Start by identifying gaps in your lineup. Do you have a fast prime for low light? Is there a telephoto for sports or wildlife? Balance specialty lenses with reliable all-rounders.
Plan upgrades based on your style and needs. For example, landscape photographers might prioritize wide-angle glass, while portrait shooters seek fast, sharp primes. Building a kit doesn’t have to break the bank—consider used lenses or third-party options for cost savings.
For those seeking recommendations, the Best lens for Sony a6500 cameras guide offers a deep dive into top choices for popular Sony bodies.
Regularly reassess your kit as your interests change. A thoughtful approach ensures your Sony photo lenses always support your creative journey, helping you grow as a photographer.
Advanced techniques for maximizing lens performance
Unlocking the full potential of sony photo lenses involves more than just basic operation. Advanced techniques help photographers consistently achieve superior results, whether in the field or the studio.
Customizing camera settings for optimal lens output
Fine tuning your camera settings can dramatically improve image quality with sony photo lenses. Start by enabling in-camera corrections for distortion, vignetting, and chromatic aberration. These features automatically optimize JPEGs and can even assist with raw files during post-processing.
Keep your lens firmware up to date. Manufacturers often release updates that enhance autofocus speed, compatibility, and image stabilization. Regularly check for updates through your camera menu or official websites.
Save custom presets tailored to your preferred shooting scenarios. For example, landscape and portrait settings may require different color profiles or focus behaviors. For even more detailed guidance, visit Shooting Tips for Various Scenes to explore how these settings impact real-world results.
Utilizing adapters and extension tubes creatively
Expanding your creative toolkit with adapters and extension tubes opens up new possibilities for sony photo lenses. Adapters allow you to mount legacy or third-party glass, which is perfect for experimenting with unique rendering styles or manual focusing.
Extension tubes are invaluable for macro photography. They reduce the minimum focusing distance, letting you capture intricate details of small subjects. However, using adapters can introduce challenges, such as slower autofocus or loss of electronic communication. Always test compatibility before heading out for a shoot.
Keep in mind that while adapters and tubes can increase versatility, they may also impact image sharpness or introduce vignetting. Weigh these trade-offs when planning your next creative session.
Pushing creative boundaries with unconventional techniques
If you want your images to stand out, try unconventional methods with sony photo lenses. Free-lensing, for instance, involves slightly detaching the lens from the mount to create dreamy blur and light leaks. Shooting through objects like glass or prisms can add layers and reflections for artistic effects.
Intentional blur or motion, achieved by adjusting shutter speed or focus, brings a sense of movement and emotion to your photos. Always prioritize safety when experimenting to avoid damage—support your lens securely and avoid exposing sensitive elements to dust or moisture.
For more inspiration and technical advice on pushing your creative limits, refer to Sony’s Shooting Tips for Various Scenes.
Troubleshooting common lens issues
Even the most reliable sony photo lenses can occasionally present challenges. Common issues include front or back focusing, internal dust, and sticky zoom or focus rings. Begin by checking your camera’s autofocus microadjustment settings if your images seem consistently out of focus.
For dust inside the lens, use a blower to remove particles from the exterior, but avoid opening the lens body yourself. Sticky rings often result from debris or lack of lubrication. If cleaning and calibration do not resolve the problem, consult a professional technician.
Timely troubleshooting and maintenance ensure that your sony photo lenses continue to deliver crisp, vibrant images for years to come.
Staying updated: The evolving world of photography lenses
Photography is constantly evolving, with sony photo lenses at the forefront of new innovations and creative possibilities. Staying informed about the latest lens technologies, from advanced coatings to improved autofocus systems, helps photographers adapt and excel.
It is wise to regularly explore resources like Best Sony Lenses in 2025 to keep up with design trends and performance breakthroughs. Ongoing education, hands-on experimentation, and a willingness to revisit your techniques are the keys to making the most of every shooting opportunity. Embrace change, keep learning, and your lens work will always stay ahead.

